SICON.HW P10
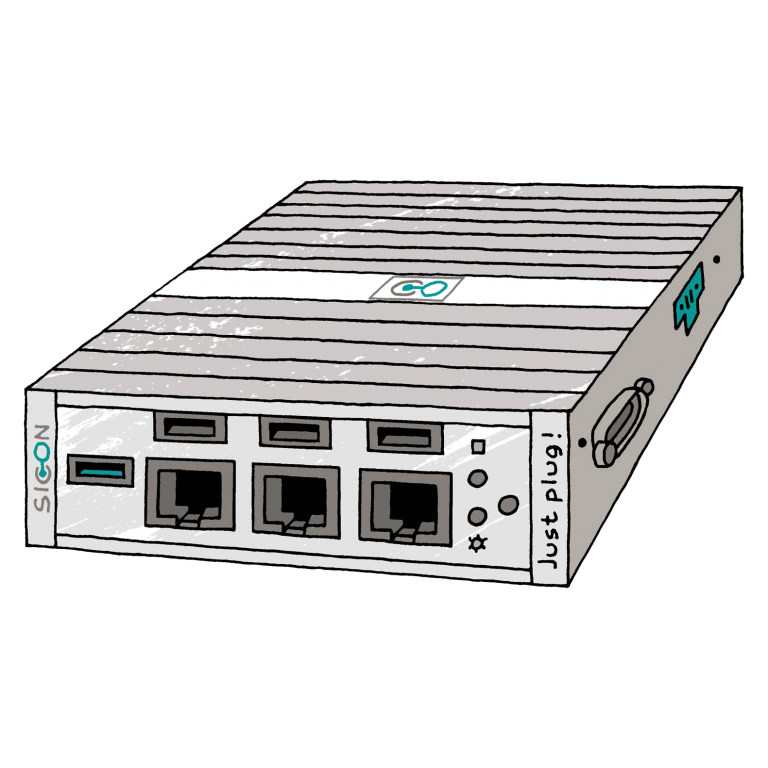
SICON.HW P10
Installation of Cabling (Power / Ethernet IT / OT)
…..
How to get the software on the box (USB)
How to connect to the …
Setup Process for SICON.OS P10
Follow the below steps to Setup the SICON.OS on your P10 Box
For quick process of How to connect SICON to the network, please click here
1. Connect your P10 box to Network
Please follow the given steps below to connect your SICON.OS P10 box to the network. (please see picture)
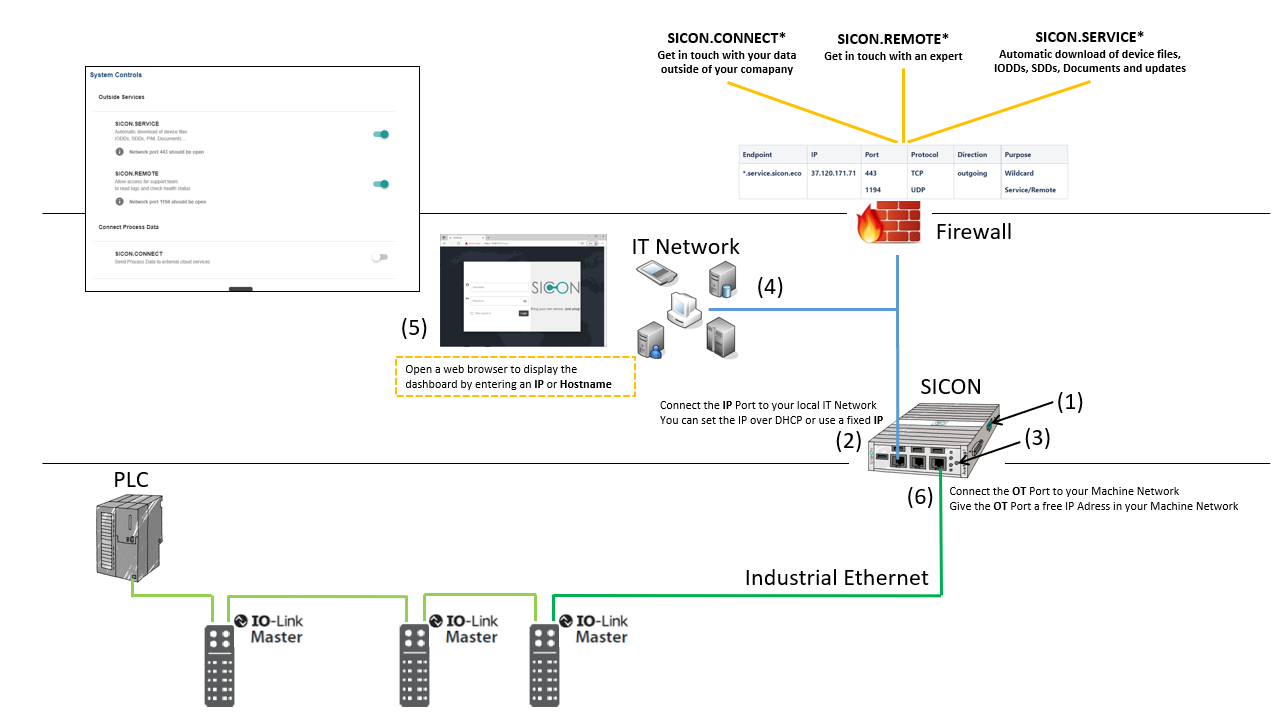
1. Connect your SICON to the power supply (1)
2. Connect IT port to the IT network (2)
Please pay attention to the required IT network settings. Please refer to IT network settings shown below:
IT network settings
The IT firewall settings, that are required for SICON.HW P10 to operated properly can be looked up under Ports and Destination address (Firewall Settings) . Only rows where the SystemType SICON.HW P10 is included do apply.
3. Switch on the SICON via the on/off button (3)
4. Make sure that your end device has been assigned an IP address by the DHCP server. This requires that you obtain your network configuration (4) automatically. For details please check the example given below:
Example of required network configuration for Windows
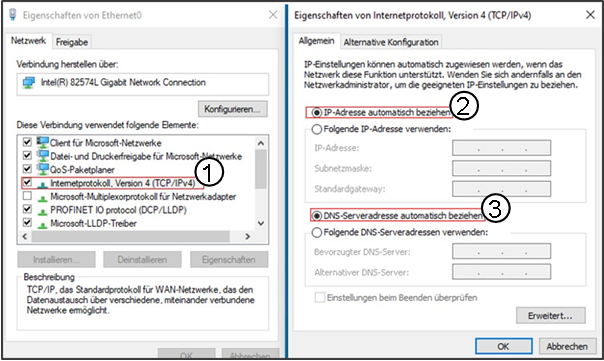
1️⃣ Internet protocol settings
2️⃣ Obtain the IP address automatically
3️⃣ Obtain the DNS server address automatically
Please be aware of the required IT network settings, check details.
2. How to find the Dashboard
There are three ways to find the dashboard:
Open a web browser and navigate to the hostname provided on the sticker that is present on the backside of the P10 box.
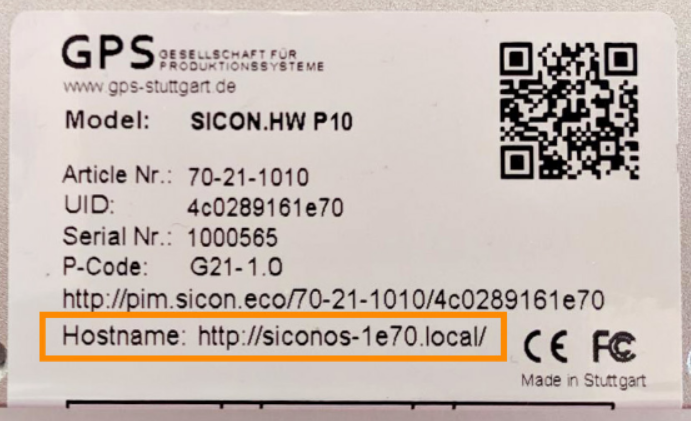
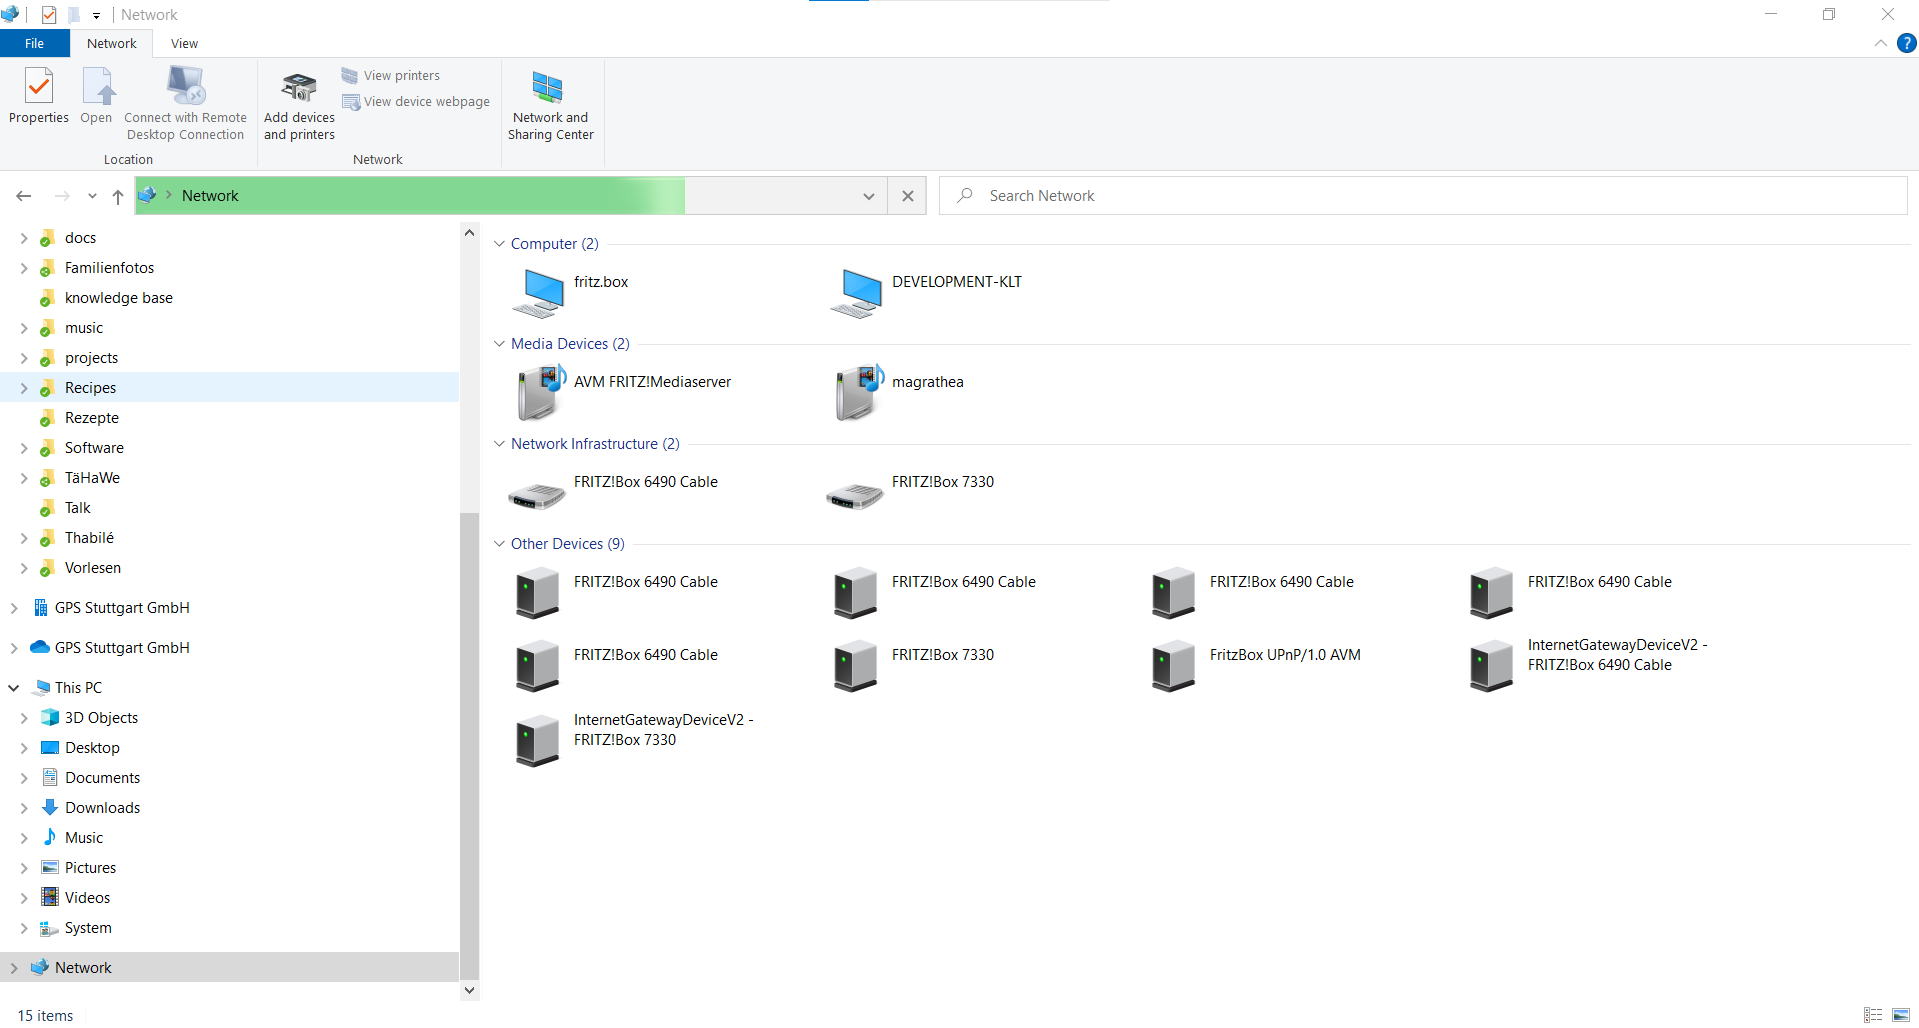
If you are using a Windows system then you can go to network, find the SICON.OS and double click on it to open the hostname in browser automatically. SICON.OS is a UPNP Device.
The IP address can be provided by your IT network administrator.
3. Installation Process
For details please visit SICON.OS Setup process
Next Steps
Your next steps would be :
➡ Connect your Device with SICON.OS
➡ Configure further settings of SICON.OS