
Quick Start Guide
Welcome to the quick installation guide for SICON.PLUG, the IIoT condition monitoring sensor for industrial vacuum systems.
This guide will help you install and connect the device in just a few steps.
Follow the below steps:
1. Unbox & Prepare
Before starting, check that you have:
No. | Material Required |
|---|---|
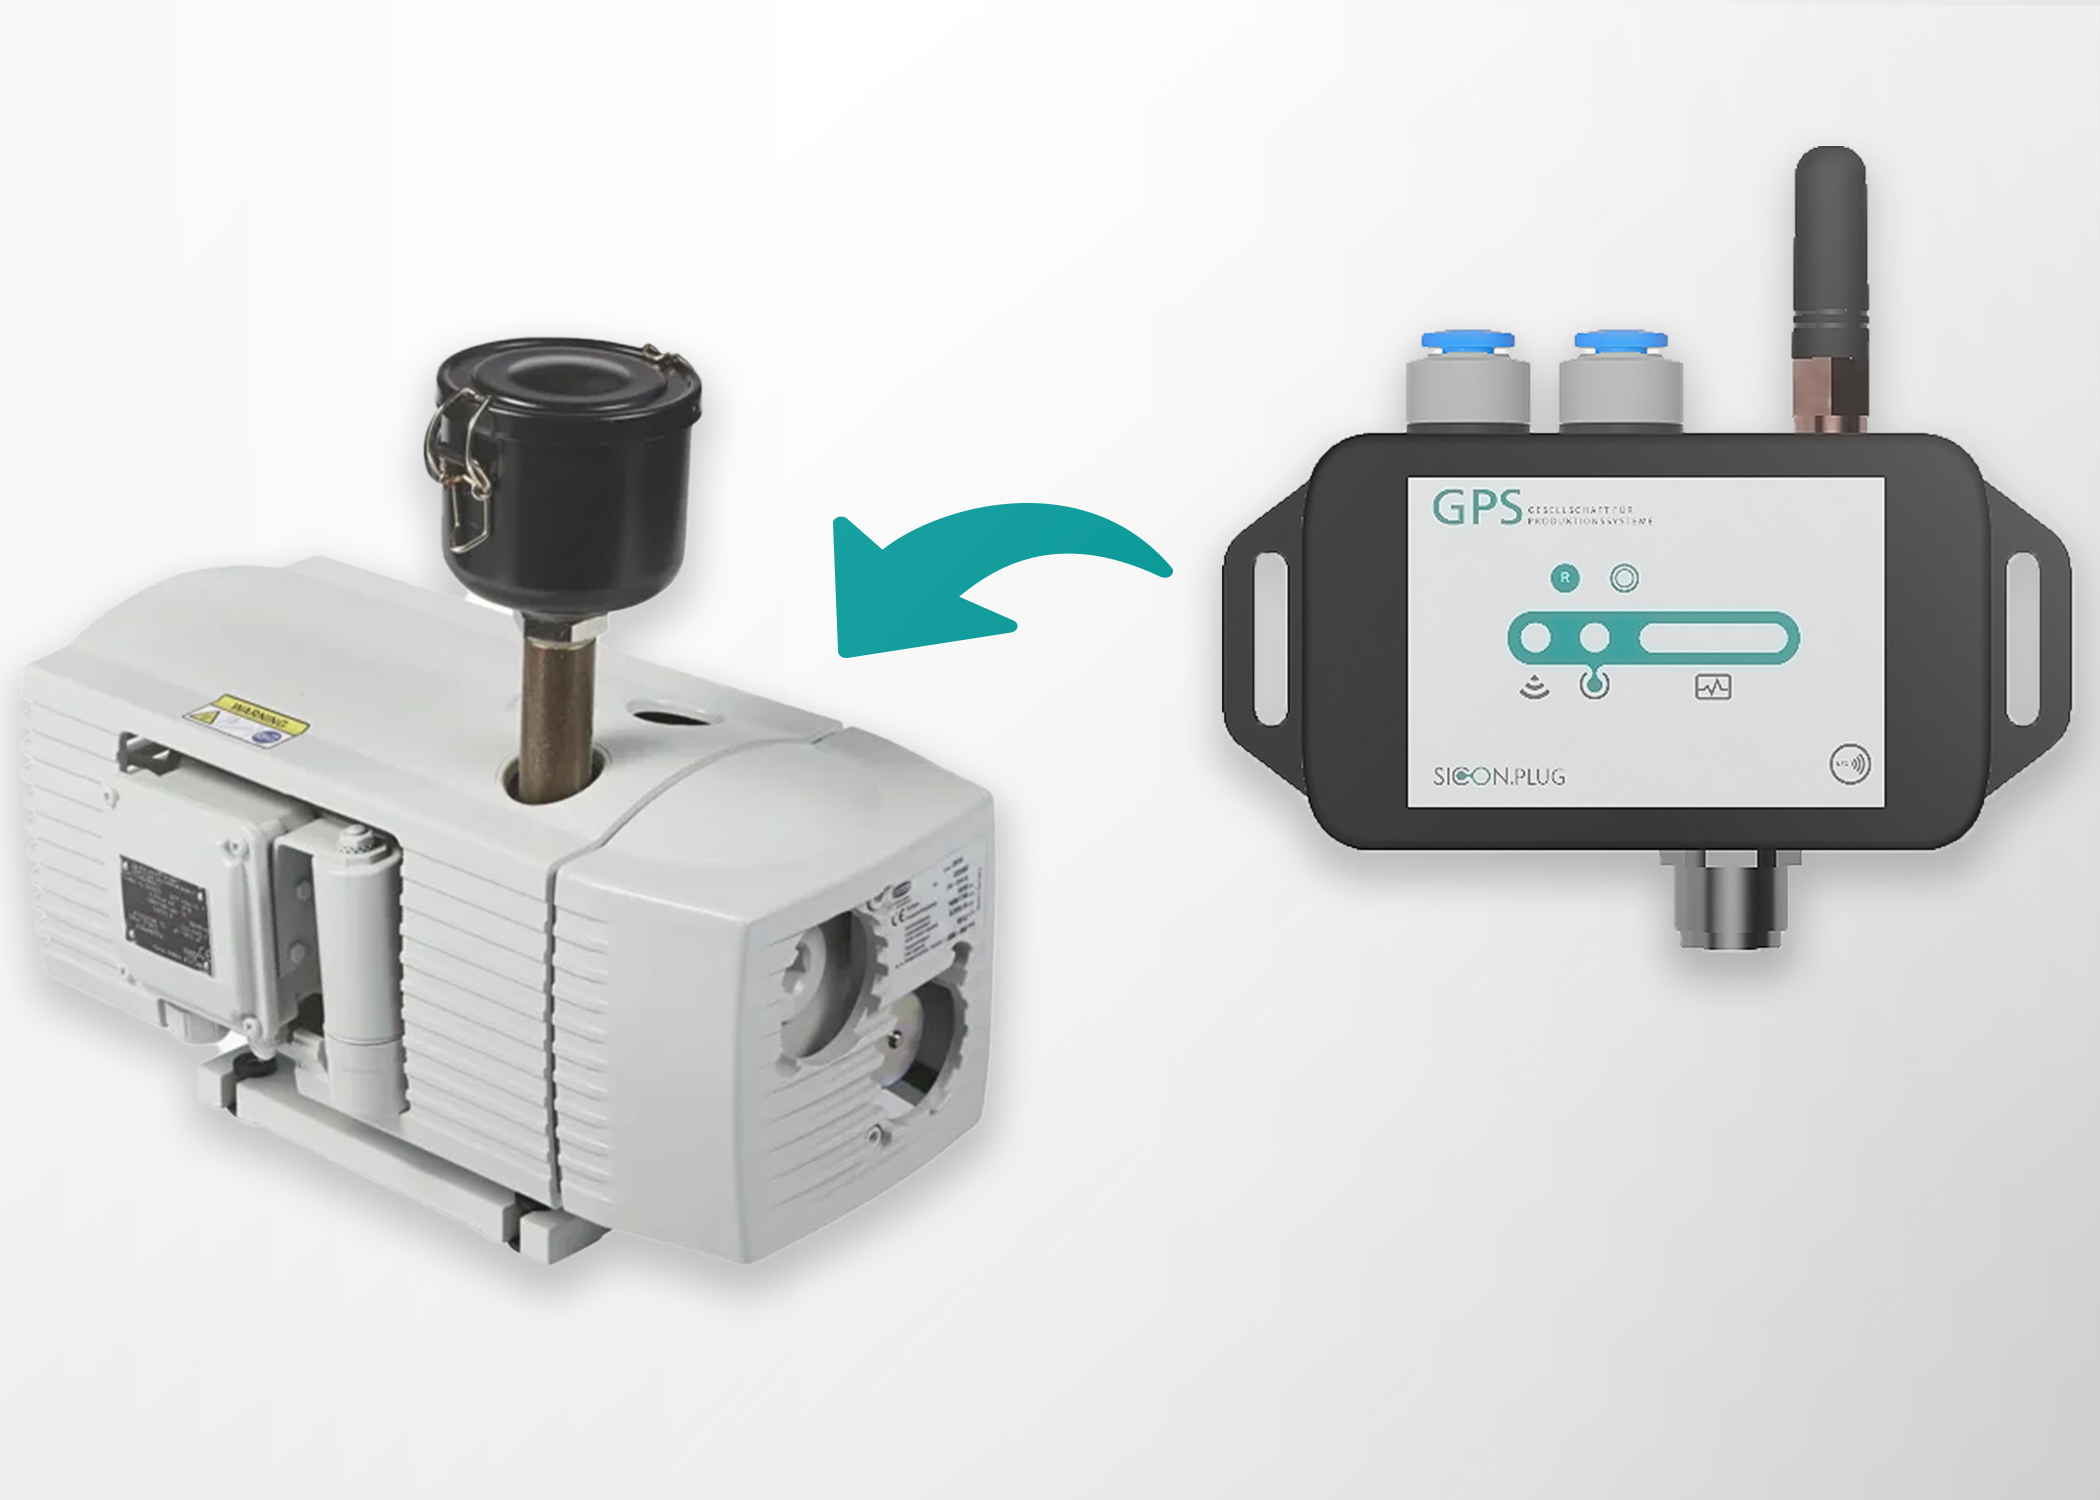
1. | The SICON.PLUG AI VAG device |
2. | Power supply (typically 24 V DC) |
3. | Pneumatic hoses and fittings suitable for your vacuum connections |
4. | Tools for securing connections |
5. | Smartphone/Tablet with the SICON.Toolbox app for setup (optional but recommended) |
Safety Notice
Switch off the Vacuum generator before installation.
Depressurize the vacuum system.
Disconnect electrical power before wiring.
2. Install SICON.PLUG on Your Vacuum Generator (Mechanical Installation)

1. Mount the SICON.PLUG
Fix the device to the mounting surface using appropriate hardware so that it is stable and vibration-free. A stable mount ensures accurate sensor data and prevents physical stress on pneumatic lines.
Choose a stable location near the vacuum generator where the device can be securely mounted and is protected from excessive heat, impact, and moisture.
2. Connect Pneumatics & Sensors
2.1 Connect to the Vacuum Generator
a. Connect the vacuum generator output to the SICON.PLUG vacuum input port. This line should be between the vacuum generator and the vacuum filter if present.
b. Connect the downstream vacuum line (towards the filter and actuators) to the designated second pneumatic port on the SICON.PLUG.
Safely Prepare the Vacuum System
Turn off the vacuum generator and ensure the system is depressurized (no vacuum or pressure present).
Confirm all safety procedures are followed for your specific vacuum hardware before making any connections.
Ensure hoses and fittings are secure and leak-free using suitable clamps or pneumatic connectors.
Tip: Use approved pneumatic hoses and fittings compatible with your system’s diameters (e.g., 6 mm pneumatic line).
3. Electrical Connection
Connect the SICON.PLUG to its 24V DC power source.
Verify correct polarity.
Power on the device.
💡 LED indication:
Solid light → Device powered
Blinking → Network initializing
For More information (See Troubleshooting for LED code details.)
4. Network Connection
Option A – Ethernet (Recommended)
Connect Ethernet cable.
Device receives IP via DHCP (default).
Verify connection in your network router or dashboard.
Option B – WiFi Setup
Use the SICON Toolbox App.
Scan QR code on device.
Select WiFi network.
Enter credentials.
Confirm connection.
5. Verify Operation
After installation:
Log into your SICON.OS dashboard.
Confirm device appears online.
Verify live vacuum readings.
Check baseline vacuum values.
If readings appear unstable:
Check for vacuum leaks.
Ensure proper hose routing.
Confirm system is depressurized during installation.